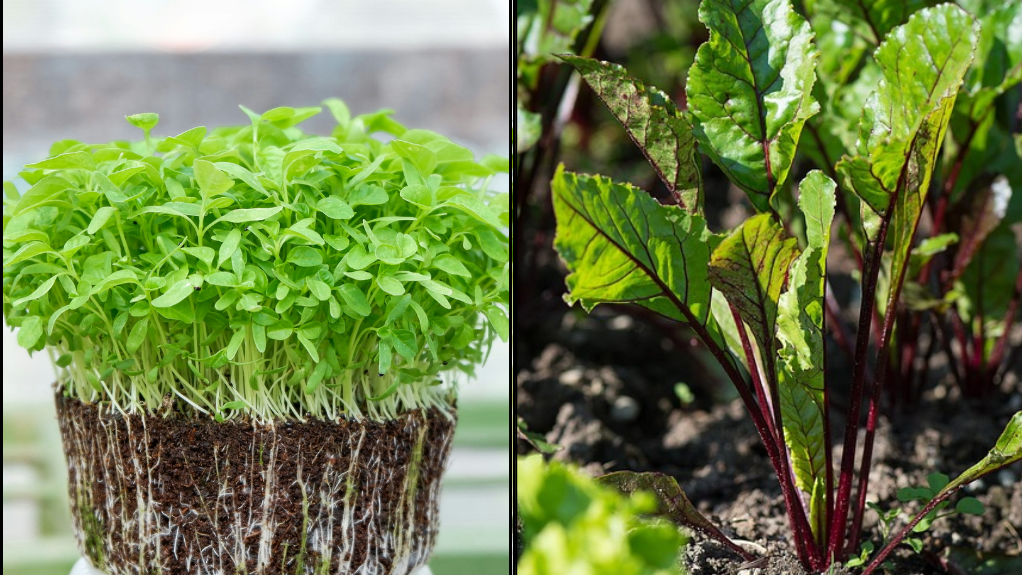
Grow microgreens usually sprout easily, yet most trays fail within a few days. Growth becomes uneven, the soil dries too fast, or fungus suddenly appears—even with fresh seeds. The real problem isn’t watering or seed quality, but unstable air and moisture. Once I used the simple humidity-pocket method, my microgreens grew evenly and were ready to harvest in just 6–8 days.
Why Microgreens Fail Even With Fresh Seeds
Microgreens almost always germinate, but problems start soon after. Within two or three days, some seedlings grow quickly while others slow down or collapse. The top layer dries quickly, prompting growers to spray more water, which often leads to fungal growth.
The core issue is simple: dry air keeps pulling moisture away from the surface.
Microgreens don’t need more water.
They need stable humidity, similar to a small forest-like environment where moisture stays consistent all day.
The Humidity-Pocket Idea That Changed Everything
While observing how seeds grow on forest floors, one thing stood out clearly—air moisture remains constant. The soil isn’t soaked, but it also never dries suddenly.
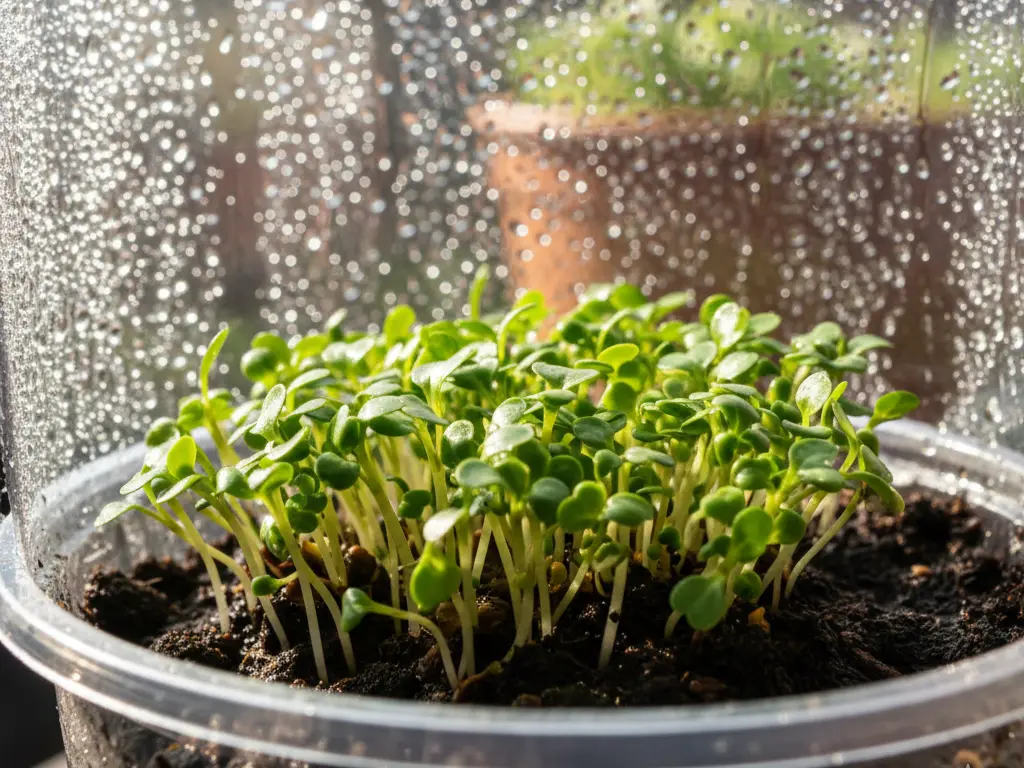
This observation led to the Humidity-Pocket Growing Method.
Instead of forcing growth with extra watering, this method creates a soft moisture zone above the seeds, protecting them from drying out while also preventing overwatering. The result is stress-free, uniform growth.
Normal Microgreens vs Humidity-Pocket Grown
With the normal method:
- The surface dries quickly
- Spraying becomes frequent
- Growth stays uneven
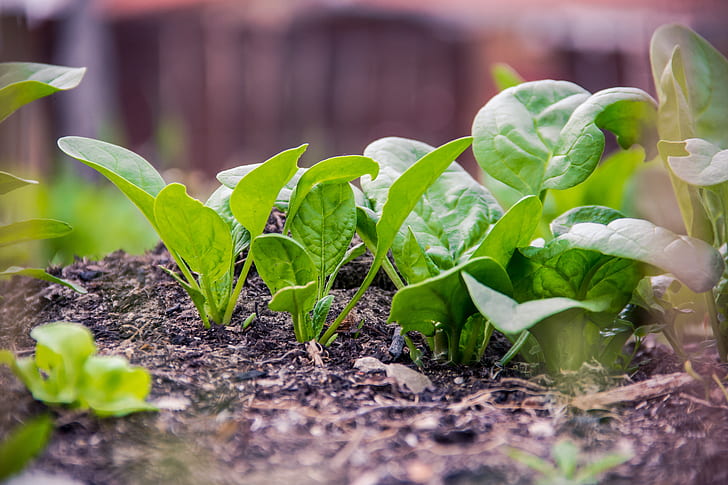
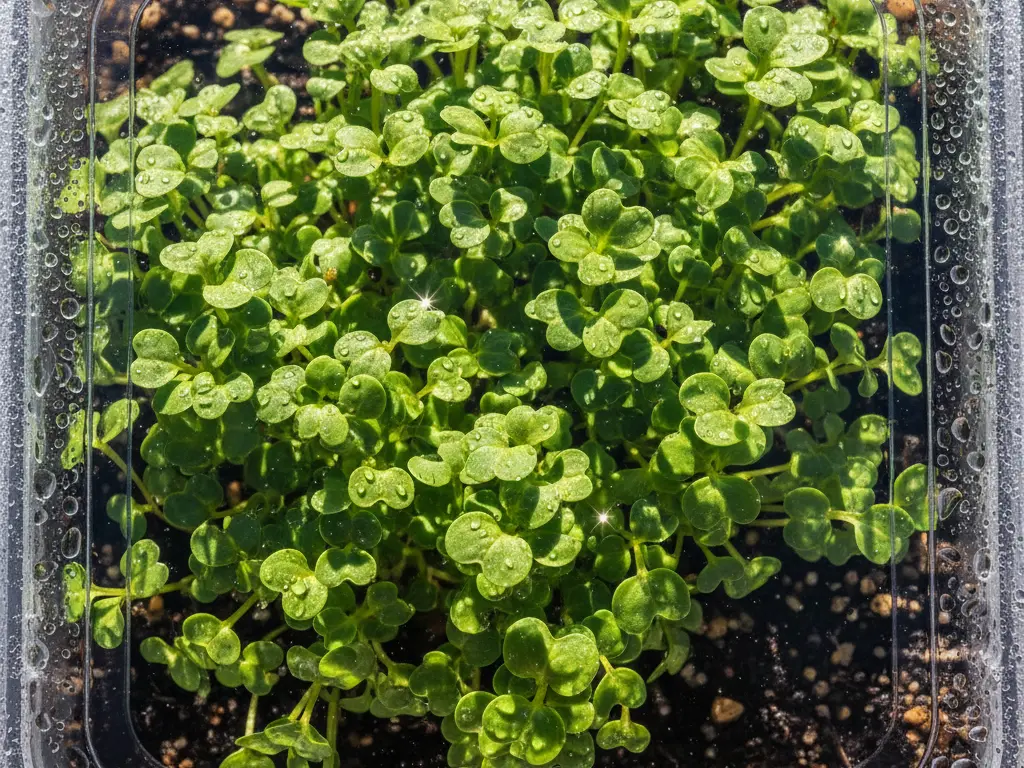
With the humidity-pocket method:
- The surface stays naturally moist
- Spraying is minimal
- Microgreens grow like a dense green carpet
The difference becomes visible by day three itself.
Microgreens That Respond Best to This Method
This method works well for most leafy microgreens, especially fast growers like:
- Methi
- Mustard
- Radish
- Coriander
Among these, methi and mustard give the fastest and most satisfying results, often forming a thick mat within a week.
How to Create a Humidity Pocket for Microgreens (Step-by-Step)
Step 1: Prepare the Base
Use a shallow tray and spread lightly moist (not wet) cocopeat evenly.
Do not press it down—keep it airy.
Step 2: Sow Seeds Densely
Sprinkle seeds evenly across the surface.
Dense sowing helps create a uniform green mat.
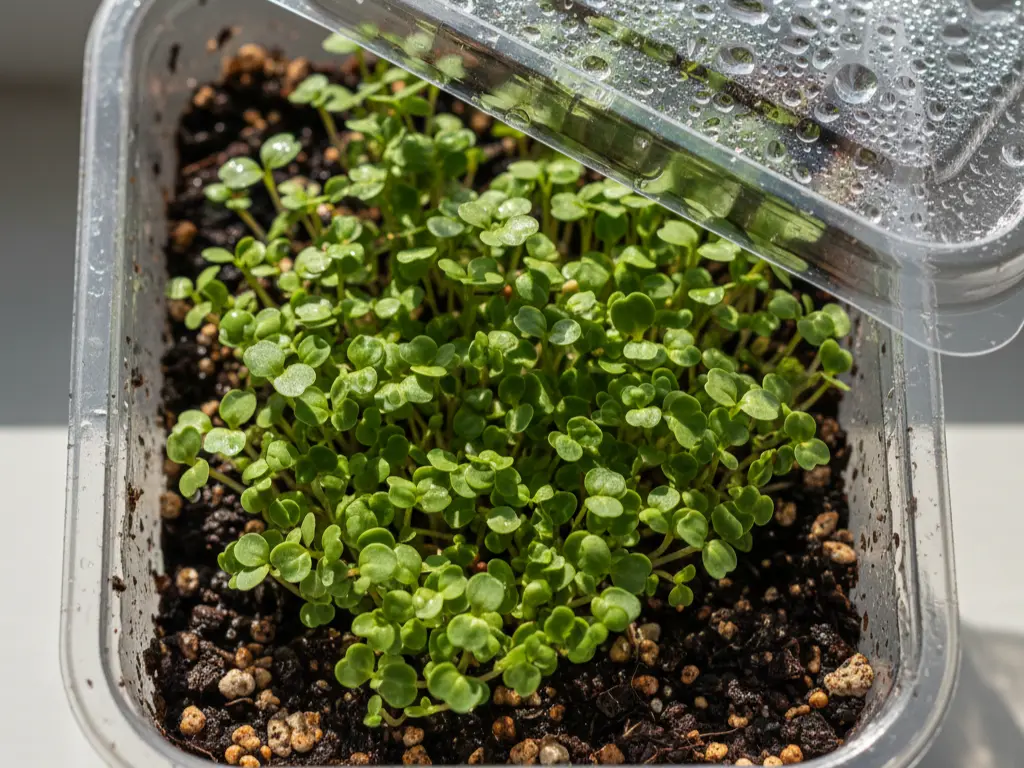
Step 3: Create the Humidity Pocket
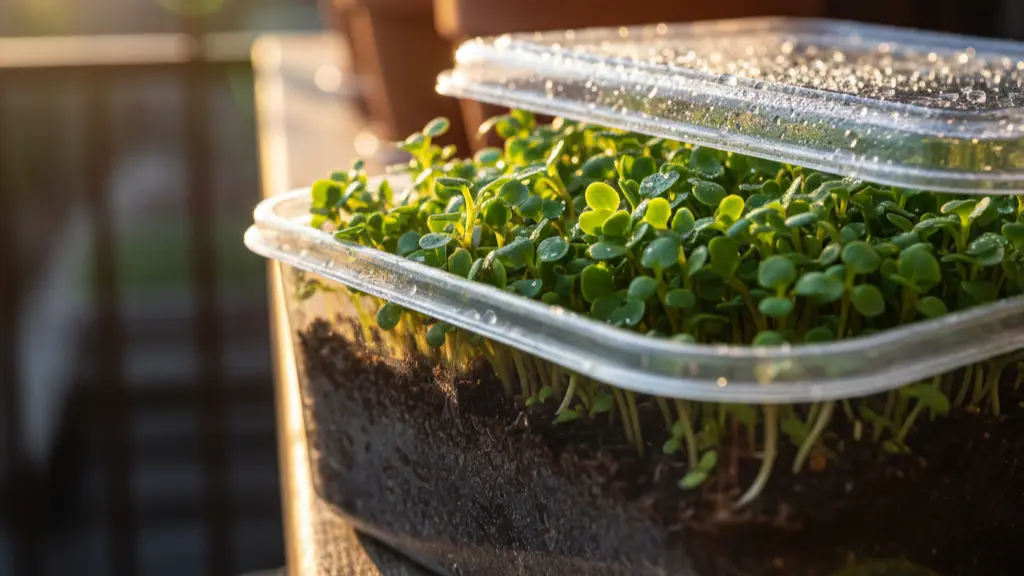
Cover the tray using a transparent lid, plate, or thin plastic sheet.
Leave a small corner gap for gentle air exchange.
This cover traps moisture and forms a stable humidity bubble above the seeds.
Step 4: Place It Correctly
Keep the tray in a warm spot with indirect light.
Avoid direct fan or AC airflow.
The Most Important Watering Rule
This is where most people go wrong.
With the humidity-pocket method:
- Do not pour water
- Spray lightly only when the surface looks dull
- Never soak the growing medium
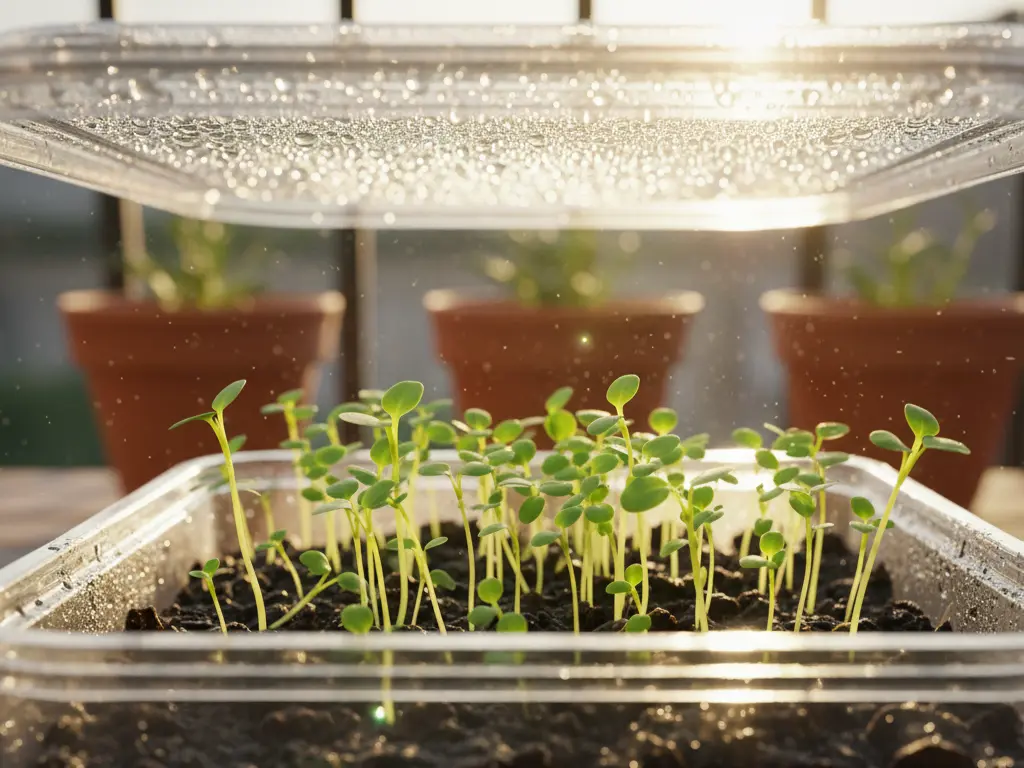
Once sprouts appear, remove the cover gradually so seedlings can adjust without stress.
How Harvest Became Possible in Just 6–8 Days
Because humidity remains stable:
- Germination becomes uniform
- Stems grow thicker instead of stretching
- Leaves stay greener and softer
Typical timeline:
- Day 2: Germination
- Day 4: Full green mat
- Day 6–8: Ready to harvest
No yellowing. No patchy growth.
Indoor Kitchen or Balcony — Both Work Well
Microgreens don’t need direct sunlight in their early stage.
They grow best with:
- Warm temperature
- Calm air
- Indirect light
Kitchen counters, window sills, and shaded balconies are ideal.
Mistakes That Can Ruin the Humidity Pocket
Avoid these common errors:
- Sealing the tray completely airtight
- Over-spraying water
- Placing trays in direct sunlight too early
- Keeping the cover on for too long
Microgreens need humidity, not suffocation.
Conclusion
Microgreens grow fast when their environment stays stable. The humidity-pocket method works because it controls moisture naturally without overwatering. If you want faster harvests, even growth, and consistently green microgreens, this simple technique is worth trying—and often becomes the easiest way to grow them daily